If you need to update the schedule information that is sent to the Photo-Finish system, this can be completed within your Seeding settings.
For guidance on how to access this area, please click here.
1) Click the Settings button in the top-right hand corner of your event card.


2) Click Update Photo-Finish

3) Tick all of the events that you would like to send to your Photo-Finish system.

All events are selected by default, however any events that you would not like to send to your Photo-Finish system can be unselected by unticking the boxes.
Alternatively, if you wish to untick all boxes within the list you can select the Clear Selection button.

If you wish to tick all of the boxes within the list, you can select the Select All button.

4) Select your Photo-Finish system from the menu.


5) To send the data to Photo Finish, click the Send Direct to PF button. This will send the files directly to the Photo-Finish system

Important Note: Alternatively, if you would like to export as a file and transfer manually, click the Export button. This will typically save the file into your Downloads folder, however you may be asked where you would like to save this file.

You may be prompted to allow the download. Select Allow to proceed.

Manually Updating Schedule Files
If you need to manually update a schedule file that has been sent to the Photo-Finish system, please follow the below guide.
1) Navigate to your Photo-Finish area within your event settings. For guidance on how to access this area, please click here.
2) Click Input Files

3) You will note that any files that have been submitted to the system will appear at the bottom of the page. Click on the event that you would like to manually edit.
TimeTronics System
If you are using a TimeTronics system, the file will appear as a .par file.

This data will then appear as below when selecting to edit:

Lynx System
If you are using a Lynx system, the file will appear as a .evt file

This data will then appear as below when selecting to edit:

4) Make any required changes to the data within the field, taking care not to amend the format of the data. Once you have made the required changes, click the Submit button.

Lynx Auto-Export
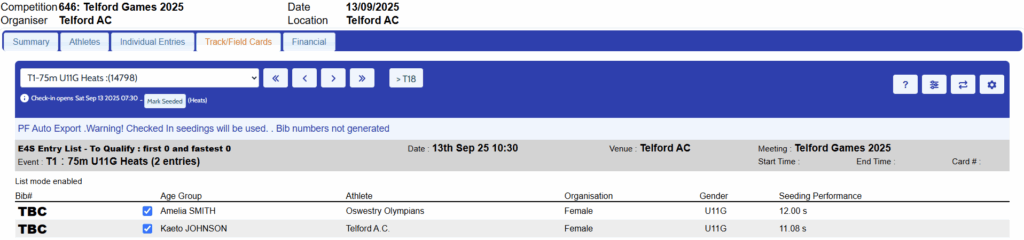
If you are using the Lynx Photo-Finish system, you can set the data from your track/field cards to automatically export to the Photo-Finish system. To do this, please follow the below steps after completing the instructions above.
1) Navigate to the Organiser Report section of the Organiser settings.
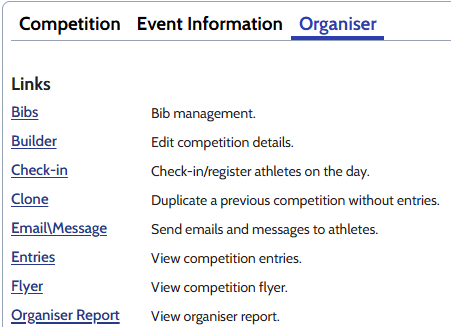
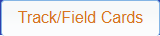
2) Click into the Track/Field Cards tab.
3) Click the Settings button.

4) Click Update Photo-Finish from the settings menu.

5) Within this form, tick the events you would like to set to automatically transfer to the Photo-Finish system. Once you have selected your events, click Auto Export

6) You will then be presented with the following message box to confirm that the automatic export has been enabled. This can be dismissed with the OK button.
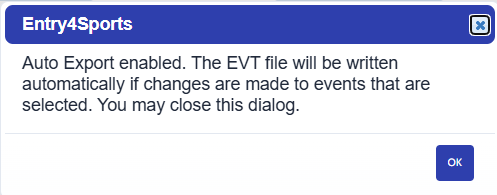
Important Note: It is important that you DO NOT close the track card as this is monitoring for changes made for sending to the Photo-Finish system.